Cooking School: Classic White Bread
I am not that great a shaping bread. I am getting better at shaping round loaves, but most of the time my breads don't hold their shape as well as I would like. I think that in the back of my mind I always thought that, to produce a loaf shape, you could simply plop dough into a loaf pan, let it rise and bake it. Not so. Shaping is the key to this loaf.
The bread itself came together very easily. The recipe suggested that I make it with my mixer, but I did it by hand. This entailed rather more kneading to work in the butter, but it was enjoyable work.
After the first rise, I divided the dough in half. I rolled it out into a 9 inch wide x 12 inch high/long rectangle. Fold one third of the dough down, then fold it down again. Pinch the bottom seam to seal. Your rectangle should be approximately 9x4 now. Turn the seam side up. Fold each end over about 1/2 inch, tuck in any loose ends and pinch to seal. Place the loaf seam side down into a greased 8x4 inch loaf pan. The seams sealed easily, so don't use too much flour as you need. The dough should be neither sticky nor dry.
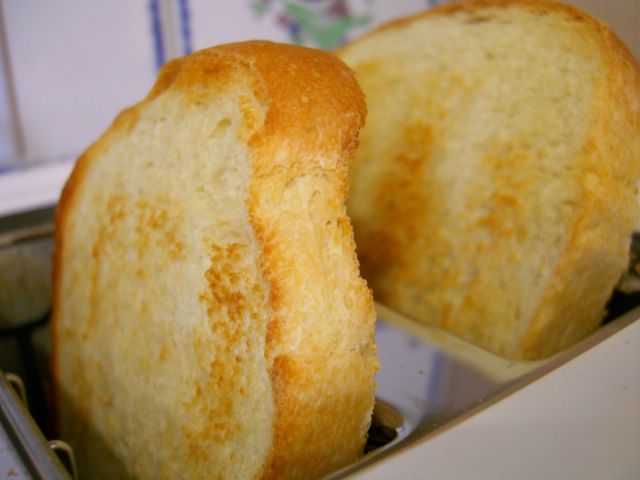
Low and behold, the loaf looked just like a store bought loaf when it came out of the oven! To my mind, this meant that I had shaped it properly. Fortunately, it tasted nothing like a store bought loaf. It was soft, buttery and had a nice even crumb that made it very easy to slice. And it made crispy, perfect toast.
Classic White Bread
adapted from Baking with Julia
2 1/2 cups warm water (105-115F)
1 package active dry yeast (.25 oz)
1 tbsp sugar
6-7 cups ap flour
1 tbsp salt
4 tbsp butter, softened
Combine 1/2 cup water, yeast and sugar in a large bowl and let stand until foamy - about 10 minutes. Add remaining water, flour and salt to yeast mixture and mix with a wooden spoon (or in a mixer) until dough cleanly away from the sides of the bowl. Knead in butter until dough is smooth and not sticky. Turn dough out onto a lightly floured surface and continue kneading for an additional minute or two. Shape dough into a ball and place in a lightly oiled bowl to rise until doubled, about 1- 1 1/2 hours.
Butter two 8x4 inch loaf pans and set aside. Place dough on a lightly floured surface and divide in two equal portions. Shape as described above and place seam side down into prepared loaf pans. Cover loaf pans lightly with oiled plastic wrap and allow to rise until doubled in size, about 1 hour. Dough will rise above the lip of the pan.
Meanwhile, preheat oven to 375F.
Place loaves in oven and bake for 35-40 minutes. After 35 minutes, use an instant read thermometer to check the internal temperature of the bread. It will read 200F when the loaves are done. If you do not have an instant read themometer (meat thermometer), simply cook the loaves for 40 minutes and keep an eye on your oven thermometer to make sure the temperature remains constant.
Remove loaves from pans immediately and let cool completely (2-3 hours) before slicing.
Makes 2 loaves
The book recommends storing the bread in a brown paper bag at room temperature for up to two days, or freezing the loaves. Storeage was not an issue here.
posted by Nic at
9:02 PM
![]()
![]()


<< Home