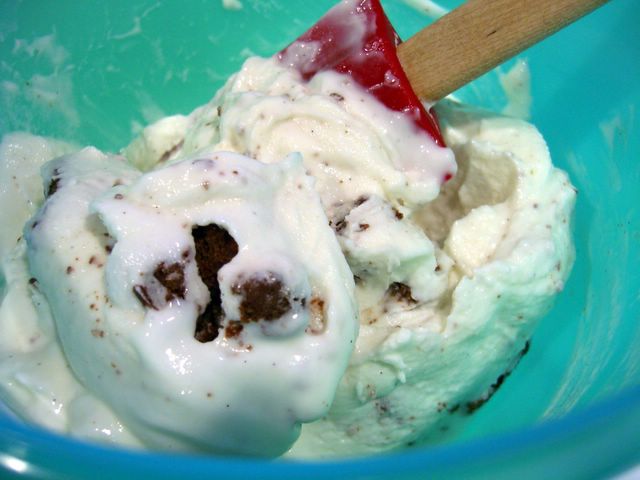
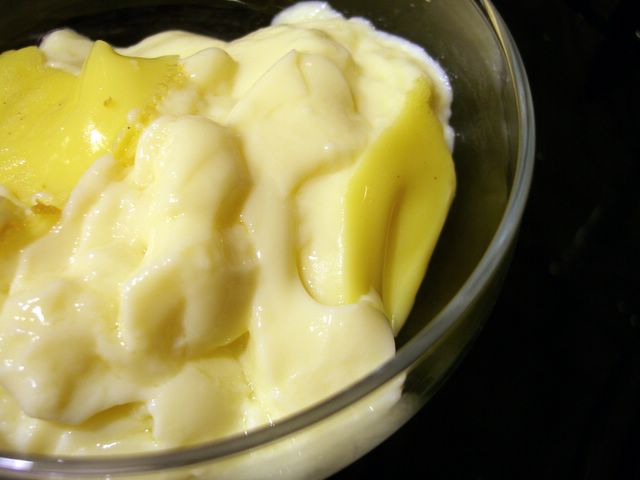
Chunky Brownie Frozen Yogurt
I much prefer gelato or frozen yogurt to ice cream. Ice cream tends to be a bit rich for me and I don't love the way that it's unctuousness seems to coat the inside of my mouth, making me incredibly thirsty. But while gelato and frozen yogurt are delicious, they don't usually come with all the various extras that ice cream does, like peanut butter swirls, chocolate fudge ripples or cookie dough chunks. The easy solution to this was to, of course, add my own in.
I have a recipe for frozen yogurt that I really love. It's sweet and creamy, with that slight tang from the greek yogurt that I use. It's usually a struggle for me to resist eating it until after its been through my ice cream maker. But I'm always rewarded for my restraint.
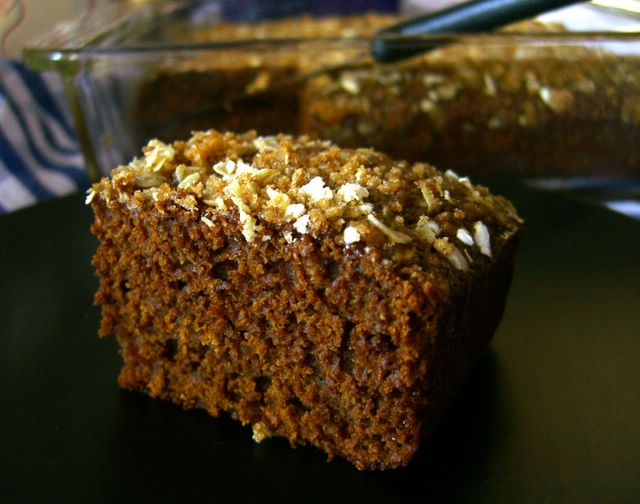
After taking this batch out of the ice cream maker, I folded in some chopped up, frozen brownies. If you're thinking that you won't be able to restrain yourself when you have made a particularly good batch of brownies, don't worry. The brownies I used were leftovers from a less-than-perfect, rather cakelike batch that froze suprisingly well. Not only do they actually taste better frozen, they keep for ages, just waiting to be added to things like frozen yogurt. But if you can set aside a few of the good ones, by all means do so. Take note that it is better to fold the chunks in once the yogurt is semi frozen, as the ice cream maker will break them up too much.
Do I really have to say what a fantastic combination this is?
If you don't have an ice cream maker, you can simply pour the unfrozen yogurt mixture into a bowl, cover it with plastic wrap and stick it in the freezer. If you give it a good stir every 45 or 60 minutes, it will turn out quite well. The greek yogurt, again, is thicker than most ordinary yogurts, so I urge you to strain your yogurt for at least and hour or two over cheesecloth if you cannot find a thick yogurt at your local market.
Chunky Brownie Frozen Yogurt
2 egg whites, room temperature
2/3 cup sugar (castor or superfine, if you have it)
3 1/2 cups nonfat yogurt (500 grams)
1 tsp vanilla extract
1/2 - 2/3 cup chopped, frozen brownies
2 egg whites, room temperature
2/3 cup sugar (castor or superfine, if you have it)
3 1/2 cups nonfat yogurt (500 grams)
1 tsp vanilla extract
1/2 - 2/3 cup chopped, frozen brownies
Whisk vanilla into yogurt until it is smooth and set aside.
Beat egg whites until they nearly reach soft peaks, then add sugar gradually while beating at medium-high speed until you have soft peaks and the sugar is dissolved, 4-5 minutes.
Fold yogurt into egg whites in 3 0r 4 additions, making sure it is very well incorporated. Pour into your ice cream maker and freeze as directed (or without an ice cream maker, as described above). Fold in brownie chunks.
Store in an airtight container in the freezer if not eating it right away.
Serves 4.
posted by Nic at
5:57 AM
![]()
![]()


