And the DMBLGiT winners are...

Wow! We had some fantastic entries in this month's Does My Blog Look Good in This? event! We also had some fantastic judges who, up until now, were anonymous: Cathy, from My Little Kitchen, Lori from Dessert Comes First, Sarah from The Delicious Life and Slashfood and Anna, from the Annalog, which isn't a food blog, but she's an excellent photographer and still likes to eat. I was the fifth and final judge. We all had a blast looking at the entries.
Some tips for future entrants: Since the judging is based on edibility, originality and aesthetics, any one of those three categories can make or break a would-be winner. For aesthetics, aim for good or interesting lighting and a sharp focus. Originality could be anything from presentation to the food itself, or simply the fact that there are no other (cookies/cakes/salmon filets) entered that month, so it's a bit of a wild card. That brings us to edibility. If it's not edible or drinkable in its current state, it's going to be at a disadvantage. Of course, I think that every single entry scored highly in that category, so don't take this too serioiusly! We're food bloggers - we like to eat.
Some tips for future entrants: Since the judging is based on edibility, originality and aesthetics, any one of those three categories can make or break a would-be winner. For aesthetics, aim for good or interesting lighting and a sharp focus. Originality could be anything from presentation to the food itself, or simply the fact that there are no other (cookies/cakes/salmon filets) entered that month, so it's a bit of a wild card. That brings us to edibility. If it's not edible or drinkable in its current state, it's going to be at a disadvantage. Of course, I think that every single entry scored highly in that category, so don't take this too serioiusly! We're food bloggers - we like to eat.
The overall winners are:
1. Baked Strawberry Pudding
2. Cinnamon Sugar Beignets
3. Blueberry Tarts with Lemon Cream
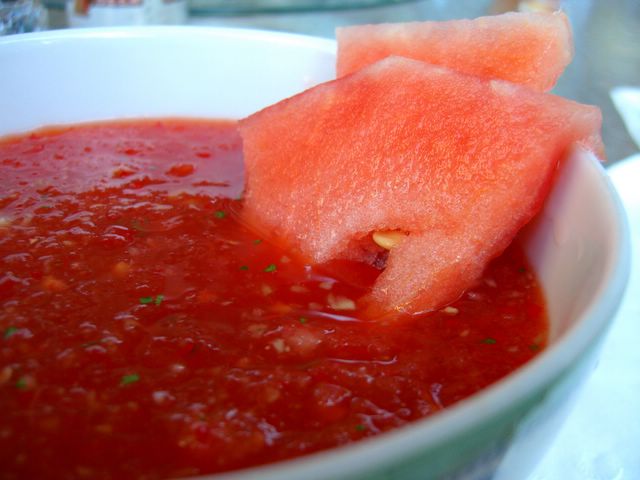
4. Beet Risotto with Fresh Garlic and Fava Beans
5. Spirale di filo ai Pistacchi
Other Awards:
Viewer's Choice: Fairly Easy Fairy Cakes (based on number of views)
Best Name: The Waffle of Insane Greatness
Meatiest: Fatted Calf's Organic Beef Links with Aleppo Pepper
Best Fruit/Veg: Olives and Thyme
Meatiest: Fatted Calf's Organic Beef Links with Aleppo Pepper
Best Fruit/Veg: Olives and Thyme
Congratulations to all the winners and thanks to all the judges. You can still view the rest of the entries here, if you missed them. The next round of DMBLGiT is being hosted by Helen, the Sydneysider who blogs at the wonderful Grab Your Fork. Head over there for more details!
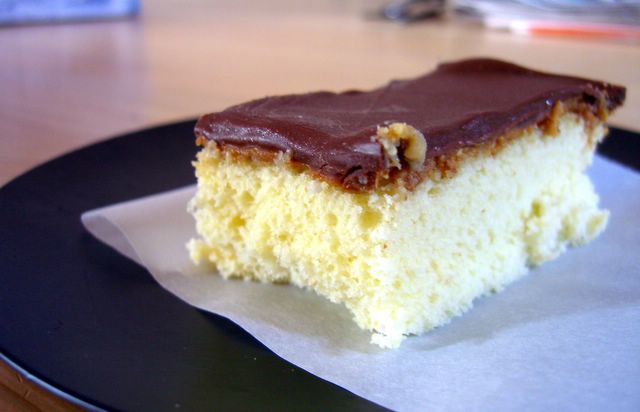
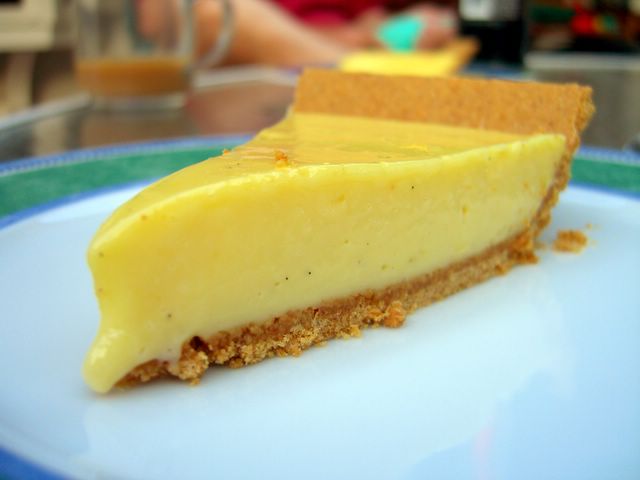
I'll leave you with a gratuitous photo of my key lime pie. Any suggestions for which photo from the last month I should enter in the next round? Leave them in the comments!
posted by Nic at
10:23 AM
![]()
![]()